Control AWX Ansible playbooks with ease using a Python Discord Bot

AWX, the open-source web-based UI for Ansible, offers a powerful solution for managing and executing playbooks. However, integrating AWX with other tools can take your automation capabilities to the next level. In this blog post, we will explore how to set up a Python-based Discord bot to control AWX playbooks, allowing you to manage your automation tasks directly from your Discord server. This guide will provide you with the steps and insights needed to get started.
Prerequisites
- Kubernetes cluster
- The AWX Operator installed. You can find the official docs here or have a look at this guide.
- For Discord:
- A private/public SSH key combination for access to your servers. The SSH public key must be installed on the servers.
- Local GitLab or GitHub as the repository.
- A VM or container to run the Discord bot.
You need the bot token and the webhook URL for later use.
AWX Config
You need a repository in GitLab or GitHub where your playbooks are located.
To get you started i have some example playbooks on the opensourcepulse.io Github repository.
Credentials
This is used to manage credentials used for authentication and authorization. Credentials in this context include API tokens, SSH keys, and cloud provider credentials, which are necessary for accessing external systems, repositories, and services. This section allows you to securely store, organize, and manage these credentials, enabling automated tasks and workflows to run without exposing sensitive information.
GitLab / GitHub
To add credentials in AWX for either GitLab or GitHub repository goto “Recources -> Credentials”.
To add you GitLab / GitHub token add a credential with type “GitHub Personal Access Token” / “GitLab Personal Access Token”.
If you want to add it as username / password choose type “Source Control”
SSH Key
To add your SSH private key add a credential with type “Machine” with the correct username. Also make sure you set “Privilege Escalation Method”, “Privilege Escalation Username” and “Privilege Escalation Password”. Those are needed when a playbook needs privileged access.
When you added both GitLab/GitHub and SSH key it should look like this: 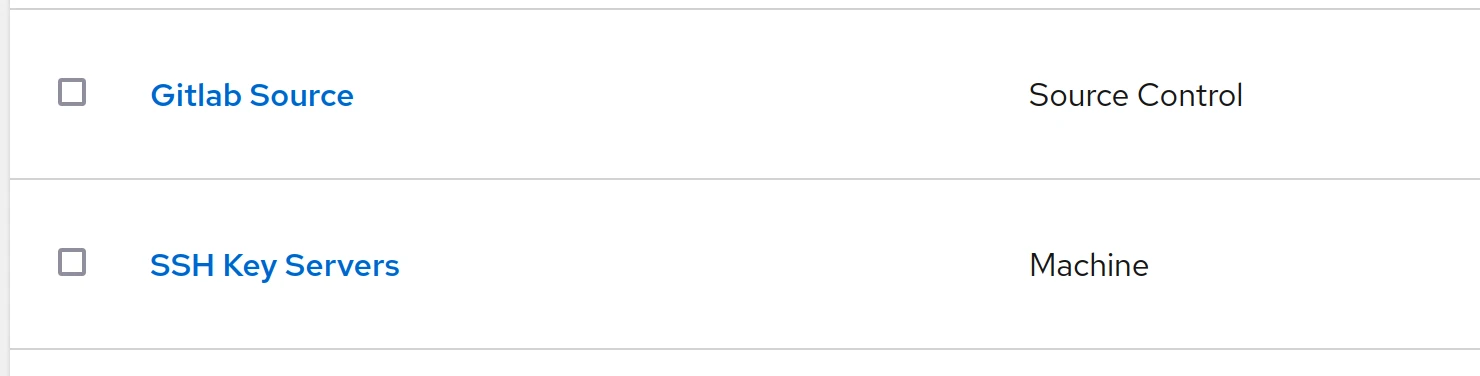
Add project
Projects represent a logical collection of Ansible playbooks and roles that define your automation tasks. Projects are linked to source control repositories, such as Git, where these playbooks are stored. By managing projects in AWX, you can easily sync your automation content, track changes, and ensure consistency across your deployments. Projects serve as a foundation for job templates, allowing you to execute specific playbooks against targeted inventories.
Goto “Recources -> Projects” and click “Add”.
Give your project a name and make sure you have the following:
- Source Control Type: Git
- Source Control URL: The URL of the repository (GitLab / GitHub)
- Source Control Credential: The credentials you created earlier, in this case “Gitlab Source”
You should have: 
Add inventory
Inventory refers to a collection of hosts and groups of hosts that Ansible manages and automates. Inventories provide the necessary context for playbooks to target specific systems, defining the structure and organization of the hosts. Within AWX, you can manage static inventories by manually adding hosts or dynamic inventories by integrating with cloud providers or other dynamic sources. This allows for efficient and scalable management of infrastructure, ensuring that playbooks are executed on the correct hosts.
Goto “Recources -> Inventories” and click “Add -> Add inventory”
Give it a name and go to the tab “sources”:
- Give it a name like GitLab or GitHub
- As “Source,” choose “Sourced from a Project”
- In “Source Details” choose your project we created earlier and as “Inventory file” choose “/ (project root)”
This will automatically read the “inventory.yml” in our repository and add the hosts.

Add templates
Templates are predefined job configurations that allow you to execute Ansible playbooks with specific settings. There are two main types of templates: job templates and workflow templates. Job templates define parameters such as the project, playbook, inventory, credentials, and extra variables required to run a particular automation task. Workflow templates enable you to chain multiple job templates and decision-making steps into complex workflows. Templates streamline the execution of recurring automation tasks by providing a reusable configuration, ensuring consistency and efficiency.
Goto “Recources -> Templates” and click “Add -> Add job template”
Give it a name (i like to give it something that explains the playbook) and set following:
- Job Type: Run
- Inventory: Click the search icon and select the inventory we just created earlier
- Project: If you have more than one project, choose the right one
- Playbook: When you click the “down arrow,” you will get a list of yml playbook files. Choose the right one
- Credentials: Click the search icon and select the SSH key we just created before
- Variables (optional): “Prompt on launch” - This is used by some example playbooks where you define certain servers on the Discord bot command (reboot_servers.yml, stats_servers.yml)
- Options - Privilege Escalation (optional): This is used by some example playbooks that need root access (check_diskspace.yml, reboot_servers.yml, stats_servers.yml, update_servers.yml)
Token
A token is used to authenticate API requests and integrate external applications securely. Tokens provide a way to authenticate users or systems without using traditional username and password combinations, enhancing security. You can generate tokens for individual users or service accounts, specifying the scope and duration of their validity. This enables automation scripts, tools, and integrations to interact with the AWX API, perform actions, and retrieve information in a controlled and secure manner. Proper management and periodic rotation of tokens are crucial to maintaining a secure automation environment.
Goto “Access -> Users” , click on your user and click the tab “Tokens”. Click “Add”
- Leave application empty
- You can enter a description like “Discord Bot”
- Set “Scope” to “Write”. If you set it to read you don’t have permission to execute a template
- When you click “Save” a popup will show the token, be sure to copy it now

Setup Discord python bot
SSH into your VM/Container and “sudo su” to be root.
Create a folder for your script. For this guide it will be /root/dbot_script
1
2
3
sudo su
mkdir /root/dbot_script/
cd /root/dbot_script/
Create the script
Create the file dbot.py
1
nano dbot.py
Find the correct template number in AWX:
- In AWX goto “Recources -> Templates”
- Click on a template
- Take a look at the URL : https://awx_url/#/templates/job_template/12/details
- Note the number for the correct template and change this in de script below
Copy the following contents in the file:
1
2
3
4
5
6
7
8
9
10
11
12
13
14
15
16
17
18
19
20
21
22
23
24
25
26
27
28
29
30
31
32
33
34
35
36
37
38
39
40
41
42
43
44
45
46
47
48
49
50
51
52
53
54
55
56
57
58
59
60
61
62
63
64
65
66
67
68
69
70
71
72
73
74
75
76
77
78
79
80
81
82
83
84
85
86
87
88
89
90
91
92
93
94
95
96
97
98
99
100
101
102
103
104
105
106
107
108
109
110
111
112
113
114
115
116
117
118
119
120
121
122
123
124
125
126
127
128
129
130
import discord
from discord.ext import commands
import requests
import json
import os

# Load configuration from config.json
with open('config.json') as config_file:
    config = json.load(config_file)

# Bot Token (from config file)
TOKEN = config['discord']['bot_token']

# Discord Webhook URL (from config file)
WEBHOOK_URL = config['discord']['webhook_url']

# AWX Token (from config file)
AWX_TOKEN = config['awx']['token']

# AWX Base URL (from config file)
AWX_BASE_URL = config['awx']['base_url']

# Define intents
intents = discord.Intents.default()
intents.messages = True
intents.message_content = True

# Prefix for commands
bot = commands.Bot(command_prefix='!', intents=intents)

@bot.event
async def on_ready():
    print(f'{bot.user.name} has connected to Discord!')

@bot.command(name='send', help='Sends a message to the webhook. Usage: !send [message]')
async def send_to_webhook(ctx, *, message: str):
    try:
        # Sending message to webhook
        data = {"content": message}
        response = requests.post(WEBHOOK_URL, json=data)

        if response.status_code == 204:
            await ctx.send("Message sent to the webhook successfully!")
        else:
            await ctx.send("Failed to send message to the webhook.")
    except Exception as e:
        await ctx.send(f"An error occurred: {e}")

@bot.command(name='reboot', help='Reboots servers. Usage: !reboot server1,server2')
async def reboot_servers(ctx, *, servers: str):
    try:
        server_list = servers.split(',')

        payload = {
            "extra_vars": json.dumps({"hostnames": server_list})
        }

        headers = {
            'Authorization': f'Bearer {AWX_TOKEN}',
            'Content-Type': 'application/json'
        }

        # Trigger the AWX job template
        # !! Change the number after the base URL to match yours
        response = requests.post(
            f"{AWX_BASE_URL}12/launch/",
            json=payload,
            headers=headers
        )

        if response.status_code in [200, 201, 202]:
            await ctx.send("Reboot task initiated in AWX.")
        else:
            await ctx.send(f"Failed to initiate reboot task in AWX. Status code: {response.status_code}, Response: {response.text}")
    except Exception as e:
        await ctx.send(f"An error occurred: {e}")

@bot.command(name='stats', help='Gets stats for servers. Usage: !stats server1,server2')
async def get_server_stats(ctx, *, servers: str):
    try:
        server_list = servers.split(',')

        payload = {
            "extra_vars": json.dumps({"hostnames": server_list})
        }

        headers = {
            'Authorization': f'Bearer {AWX_TOKEN}',
            'Content-Type': 'application/json'
        }

        # Trigger the AWX job template
        # !! Change the number after the base URL to match yours
        response = requests.post(
            f"{AWX_BASE_URL}13/launch/",
            json=payload,
            headers=headers
        )

        if response.status_code in [200, 201, 202]:
            await ctx.send("Stats gathering task initiated in AWX.")
        else:
            await ctx.send(f"Failed to initiate stats task in AWX. Status code: {response.status_code}, Response: {response.text}")
    except Exception as e:
        await ctx.send(f"An error occurred: {e}")

@bot.command(name='list', help='Lists all servers. Usage: !list')
async def list_servers(ctx):
    try:
        headers = {
            'Authorization': f'Bearer {AWX_TOKEN}',
            'Content-Type': 'application/json'
        }

        # Trigger the AWX job template
        # !! Change the number after the base URL to match yours
        response = requests.post(
            f"{AWX_BASE_URL}11/launch/",
            headers=headers
        )

        if response.status_code in [200, 201, 202]:
            await ctx.send("Server listing task initiated in AWX.")
        else:
            await ctx.send(f"Failed to initiate server listing task in AWX. Status code: {response.status_code}, Response: {response.text}")
    except Exception as e:
        await ctx.send(f"An error occurred: {e}")

# Run the bot
bot.run(TOKEN)
Create the config file
Create the file config.json
1
nano config.json
Copy the following contents in the file and change to correct values:
1
2
3
4
5
6
7
8
9
10
{
  "discord": {
    "bot_token": "change_this_to_discord_bot_token",
    "webhook_url": "https://discordapp.com/api/webhooks/change_webhook_url"
    },
  "awx": {
    "token": "change_this_to_awx_token",
    "base_url": "https://url.for.awx/api/v2/job_templates/"
    }
}
Create the requirements file
Create the file requirements.txt
1
nano requirements.txt
Copy the following contents in the file:
1
2
discord.py
requests
Then, you can install all dependencies at once using:
1
pip install -r requirements.txt
Setup systemd for the dbot.service
Create a systemd service file:
Create a file named dbot.service in /etc/systemd/system/ with following contents:
1
2
3
4
5
6
7
8
9
10
11
12
[Unit]
Description=Discord Bot Service
After=network.target

[Service]
User=root
WorkingDirectory=/root/dbot_script
ExecStart=/usr/bin/python3 /dbot_script/dbot.py
Restart=always

[Install]
WantedBy=multi-user.target
Reload systemd to recognize the new service:
1
systemctl daemon-reload
Enable the service to start on boot:
1
systemctl enable dbot.service
Start the service:
1
systemctl start dbot.service
Check the status of the service:
1
systemctl status dbot.service
At this point, when everything went well, your bot should be “Online” on your server. Now it is time for the fun part!
Running AWX templates from Discord
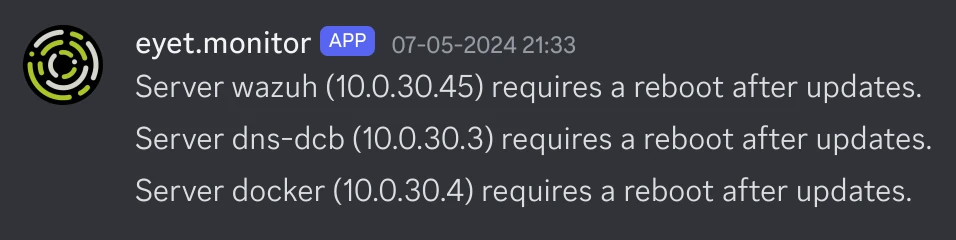
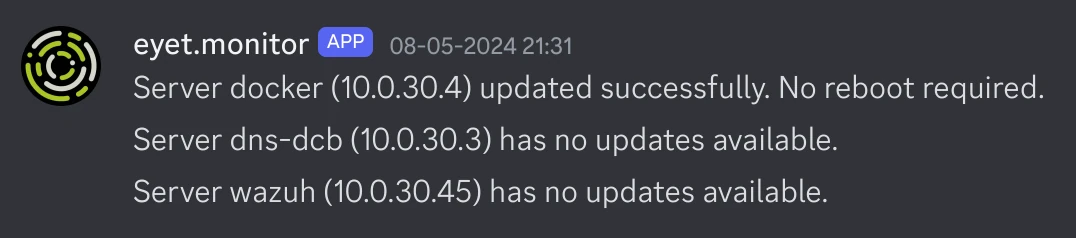
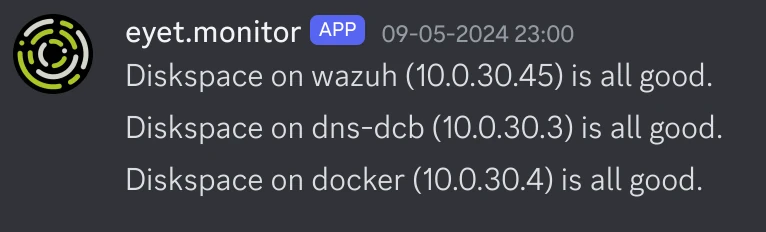
In the example playbooks, we have check_diskspace.yml and update_servers.yml. I have those running on a schedule in AWX, and they will return information to the Discord webhook when they have run.
Here is some example output for those playbooks:
list_servers_awx.yml
This will list the servers in AWX from the inventory.yml: 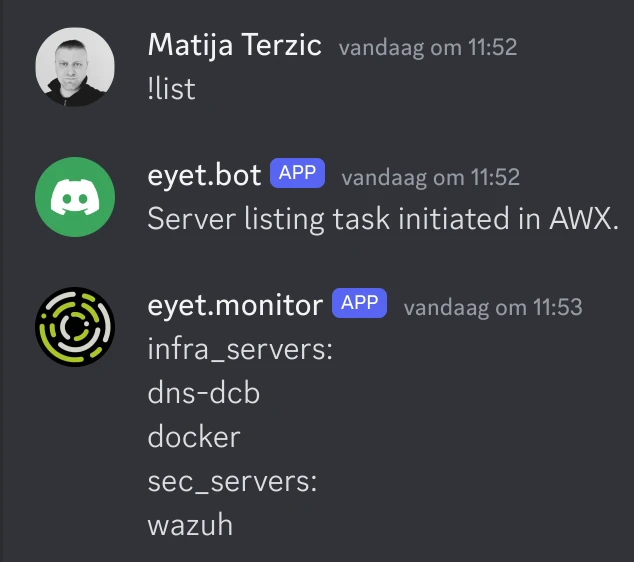
reboot_servers.yml
This will reboot servers: 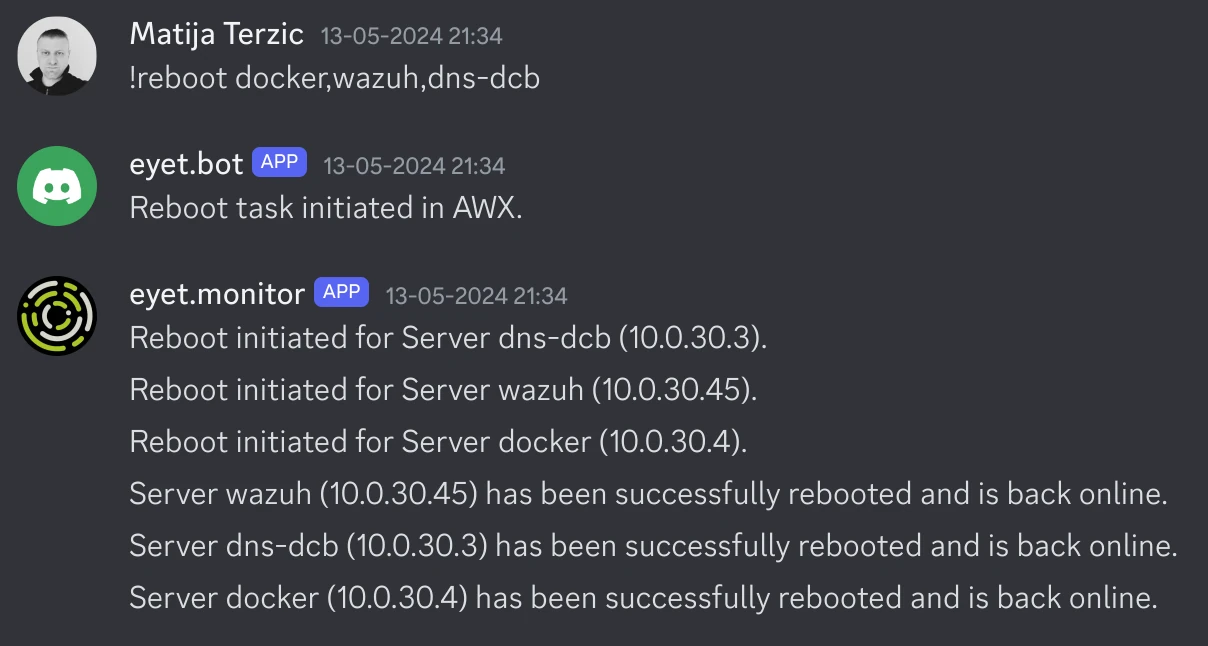
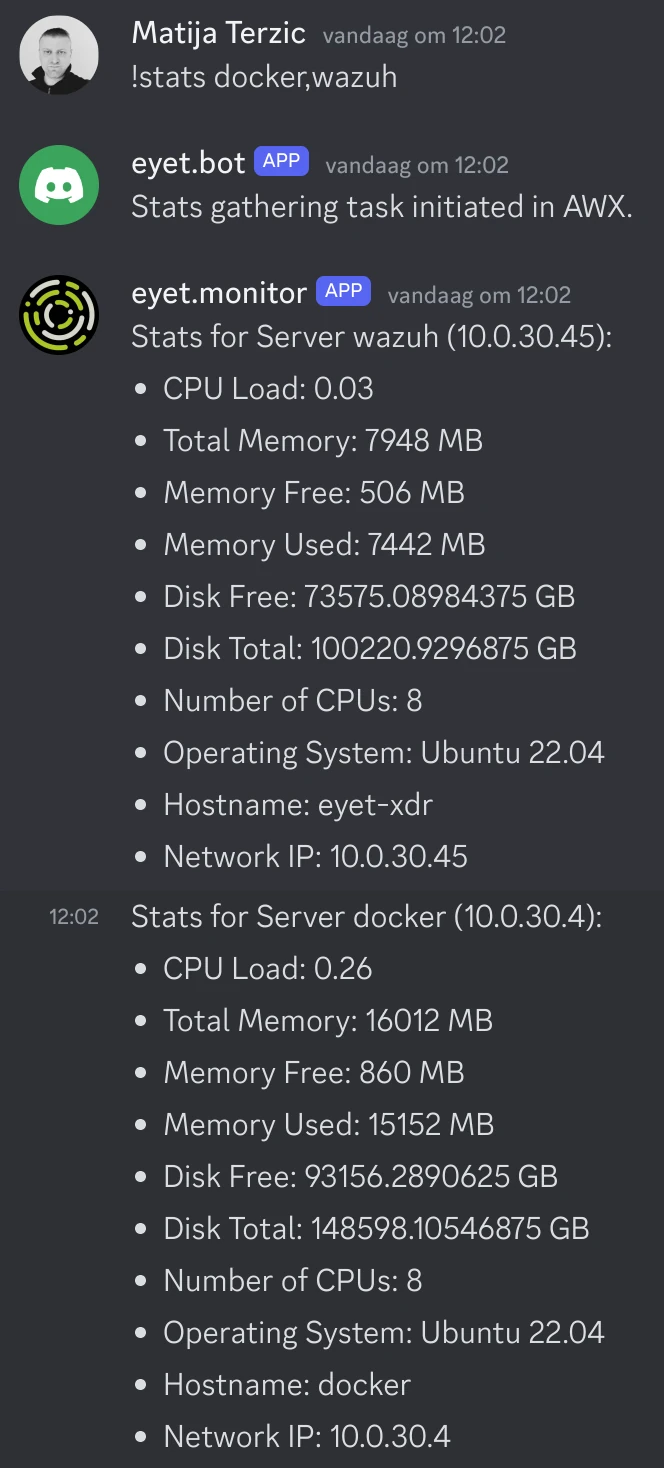
stats_servers.yml
This will gather and show stats about servers: 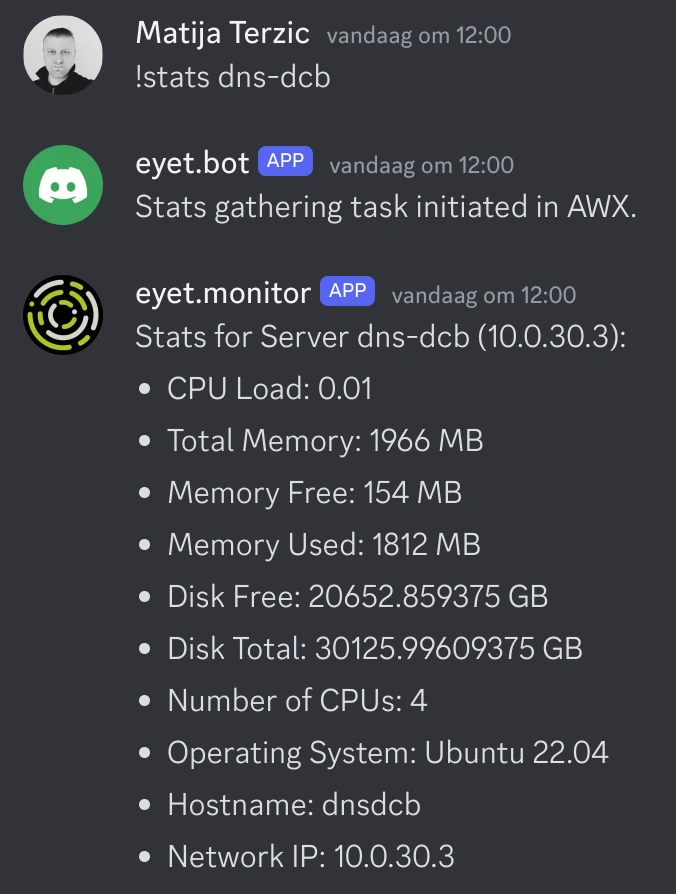
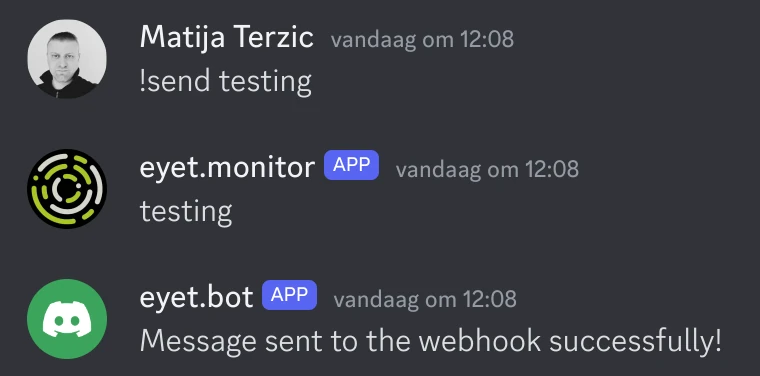
The !send command
This command is just to test the webhook, it will just echo outs everything:
By integrating a Python Discord bot with AWX Ansible playbooks, you can streamline and simplify your IT automation tasks. This setup allows you to control and monitor your playbooks directly from a familiar and accessible interface like Discord. With the ability to schedule tasks, retrieve server statistics, and manage server reboots, you can maintain your infrastructure more efficiently and respond to issues promptly.
We hope this guide has shown you how easy it can be to enhance your automation workflows with a Python Discord bot. Happy automating!
If you have any questions or feedback, feel free to leave a comment below. And don’t forget to share your own experiences and tips for integrating AWX with other tools in the comments as well!